Friday, November 23, 2012

Right Front Heater Channel & Fender Repair


Moving forward...figuratively & literally...
Now that the door pillar has been r-established it's time to repair the passenger side heater panel & rear inner fender. First cut away the rot until we get to solid metal

Because of the size & complexity of the repair, I decided to make the patch in two pieces. I make a template of the first piece...
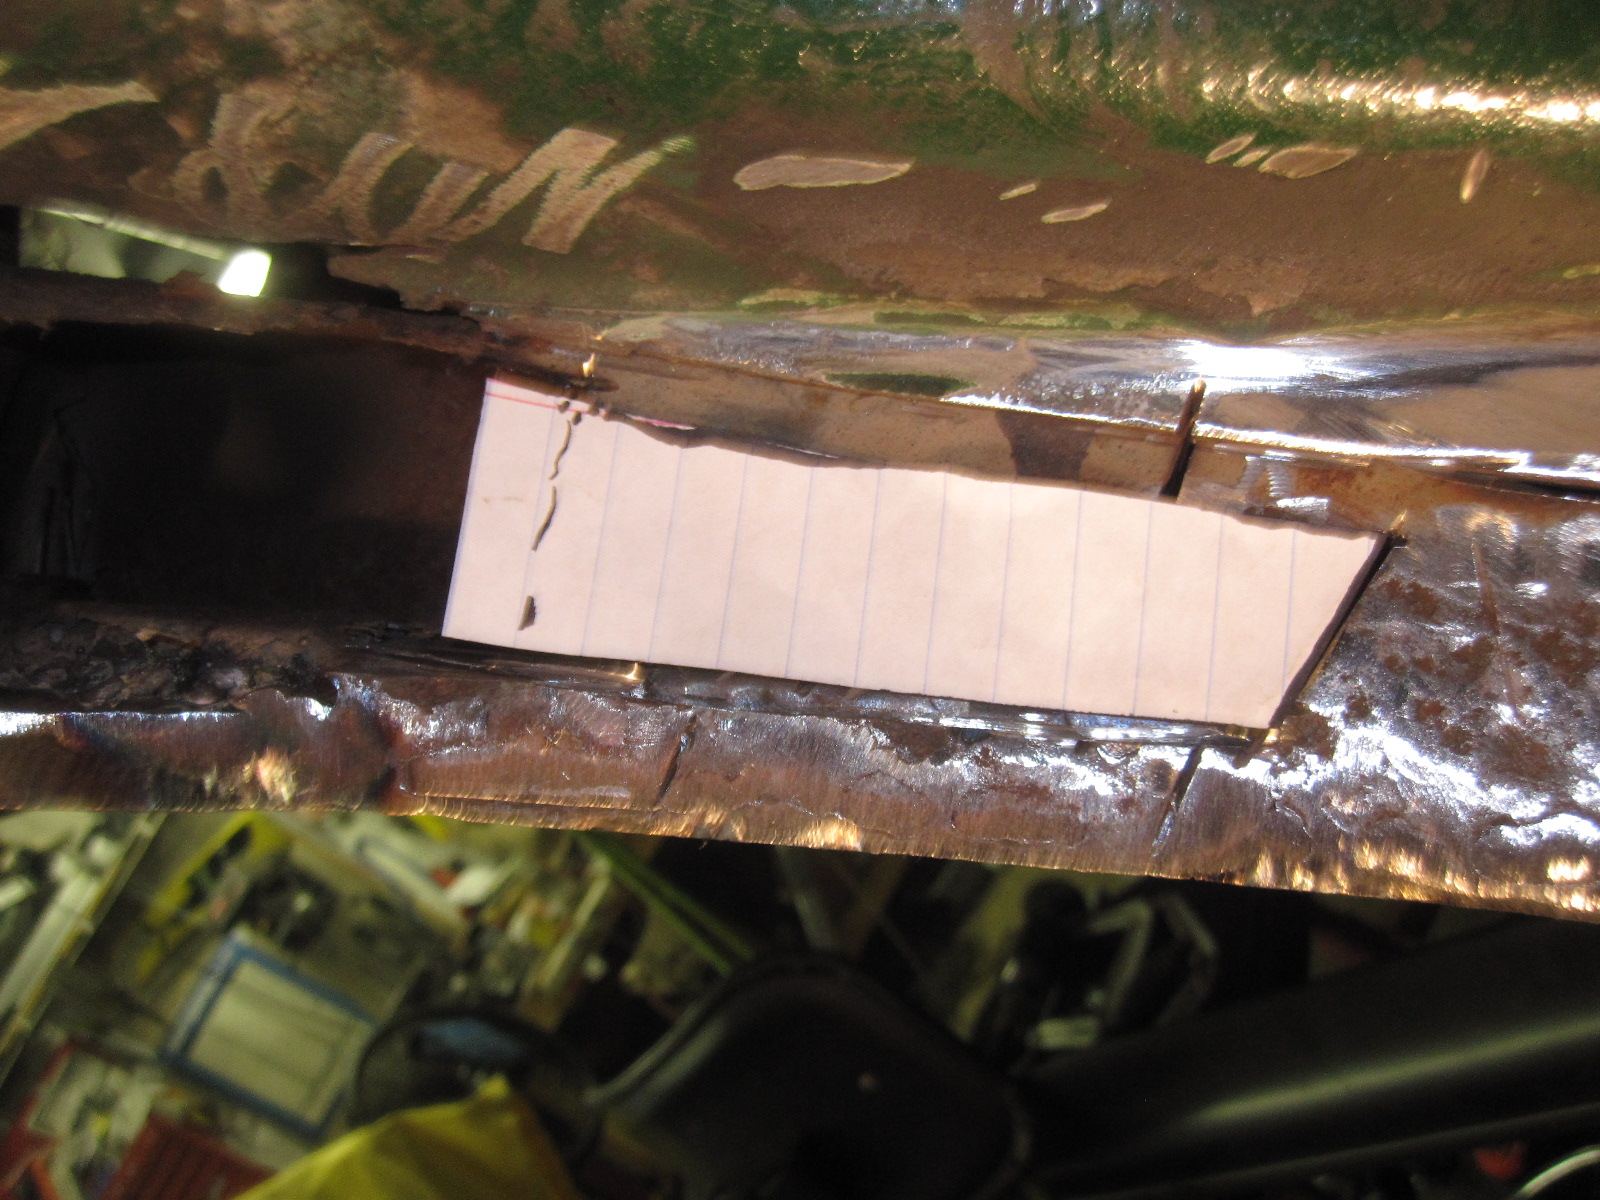
...transfer it to a piece of sheet metal & cut it out.

After a test fit & adjustment...

...it,s welded in place...

 ...and ground
 
The same process for the second piece...


Next I begin to make the template for the inner fender repair. The template is more complex because of the radius and number of bends to make sure it conforms to the contour of the fender line. It is built using several pieces of paper taped togther as necessary. A find it's quicker to make up the pattern  and transfer it than monkeying around with trying to fit a piece of metal.


 After the template has been transferred, cut out and has been roughly formed, it is test fit and any adjustments made. 

Next it's welded in place...

...and ground smooth

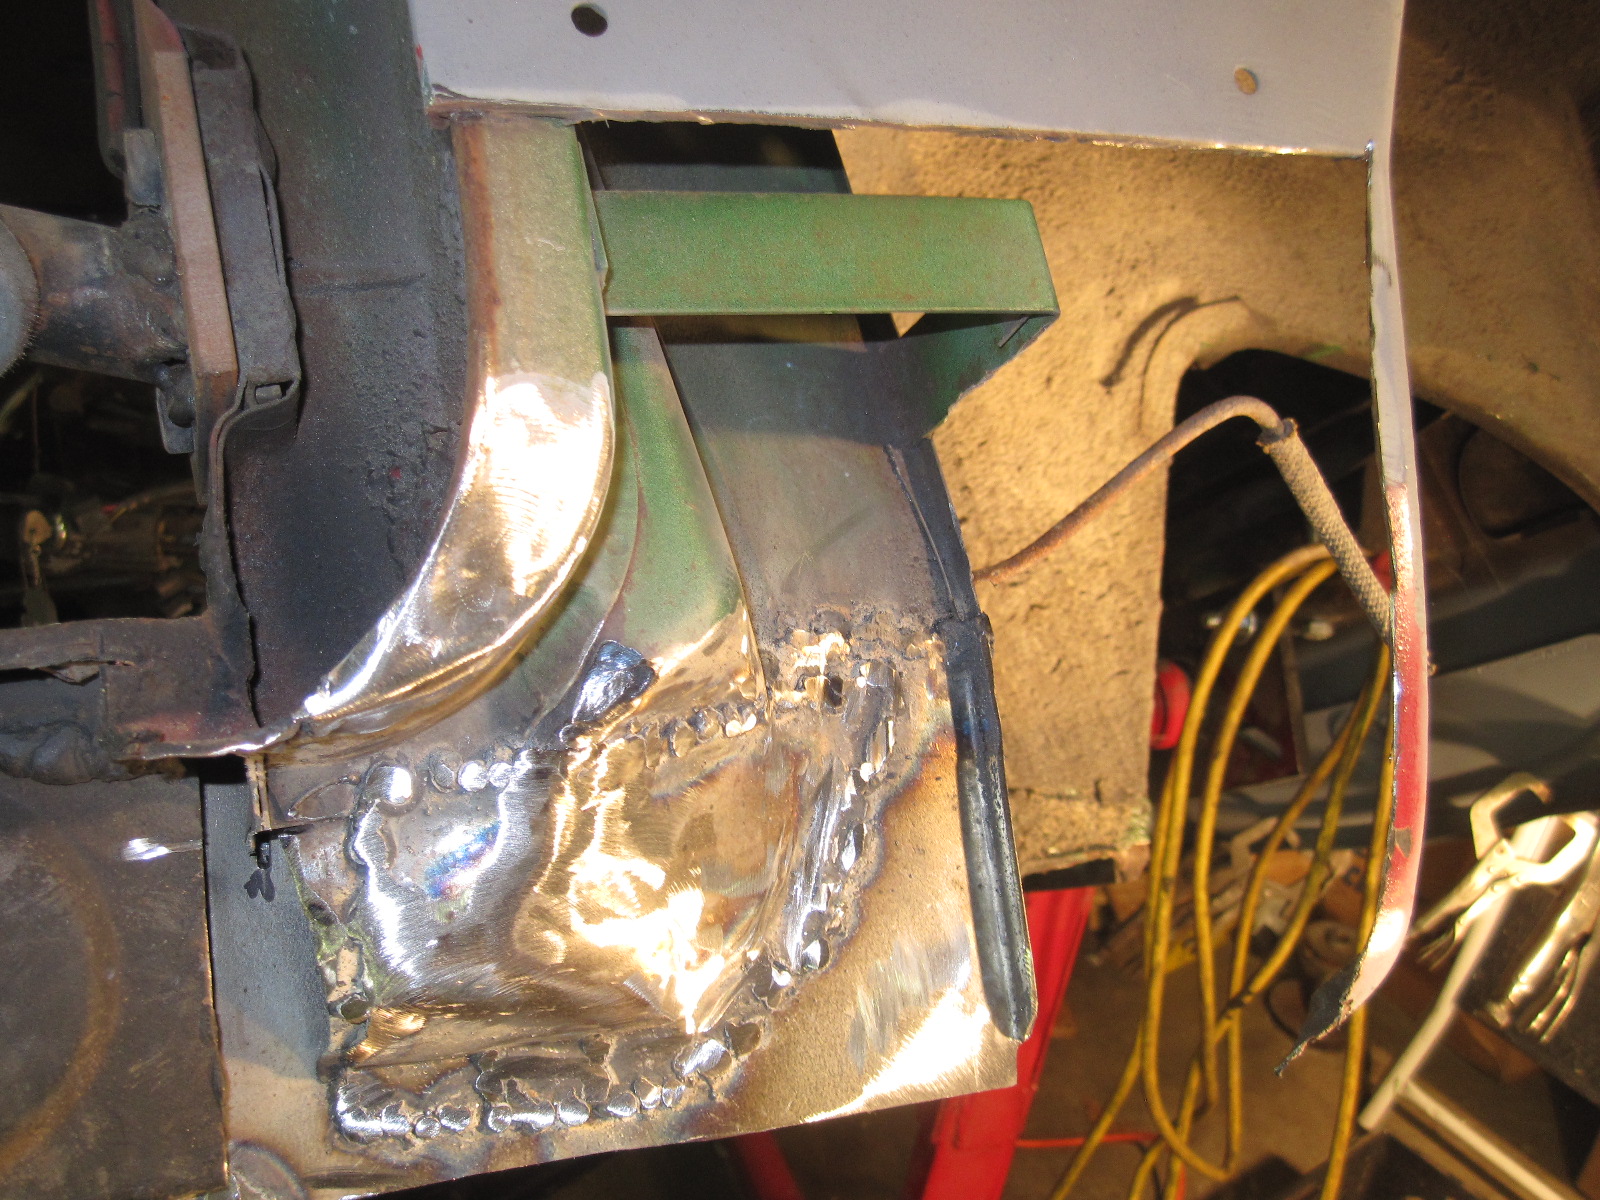
Here is the reconstructed inner fender and heater channel ready for finish grinding & primer

Passenger Side Fender Repair


Moving forward...figuratively & literally...
Now that the door pillar has been r-established it's time to repair the passenger side heater panel & rear inner fender. First cut away the rot until we get to solid metal

Because of the sixe & complexity of the repair, I decided to make the patch in two pieces. I make a template of the first piece...

...transfer it to a piece of sheet metal & cut it out.

After a test fit & adjustment...

...it,s welded in place...

 ...and ground

The same process for the second piece...


Next I begin to make the template for the inner fender repair. The template is more complex because of the radius and number of bends to make sure it conforms to the contour of the fender line. It is built using several pieces of paper taped togther as necessary. A find it's quicker to make up the pattern  and transfer it than monkeying around with trying to fit a piece of metal.


 After the template has been transferred, cut out and has been roughly formed, it is test fit and any adjustments made.

Next it's welded in place.

...and ground smooth

Here is the reconstructed inner fender and heater channel ready for finish grinding & primer




Thursday, November 22, 2012

Door Pillar, Day 2


I roughed in the line that represents the front side of the door pillar patch...

...and made up a paper template

I transferred the te,late to a piece of sheet metal, cut & formed it

I began at the left side, tacking the piece in place and forming it to fit the existing sheet metal.

I continued forming & yacking until the piece was in palce

 Finished welding the piece in place...

...and cleaned up ready for paint.

 Painted and waiting for tomorrow.


Wednesday, November 21, 2012

Door Pillar Repair , Day 1


Working from the back of the assembly I make a pattern for the piece of sheet metal that will become the back of the door pillar.

I transfer the pattern to a piece of sheet metal...

...and cut & form it up.

After some fitting, I weld the piece in place.

 The next step is to make a pattern of the replacment section of the bottom of the door pillar.


Thursday, November 1, 2012

Heater Channel Repair

Began cutting, fitting & patching the bottom heater channel to begin forming the base line for the door pillar repair.

Patching the heater tube feed to the defroster tube.

Making sure everything lines up.


Wednesday, October 31, 2012

Door Pillar...where to begin...Hmmmm...


Another patch & repair...this time it's the bottom of the door pillar and the heater channel

It's in pretty rough shape and will take some work...

...these pictures are for reference for when I begin cutting it to pieces & need to remember what it needs to look like when I get done...