Saturday, May 5, 2012

Driver's Side Rocker Panel Rebuild - Heater Channel Repair

 After much research & internal debate about how to best go about repairing the rocker panel, I decided the leave as much of the existing heater channel as possible. This was for several reasons. First, the heater channel carries the nuts that the chassis pan bolts to and their location is critical. Secondly, this is the only solid, original piece of the rocker panel structure that holds the front and rear of the chassis together and I wanted to maintain this critical dimension.


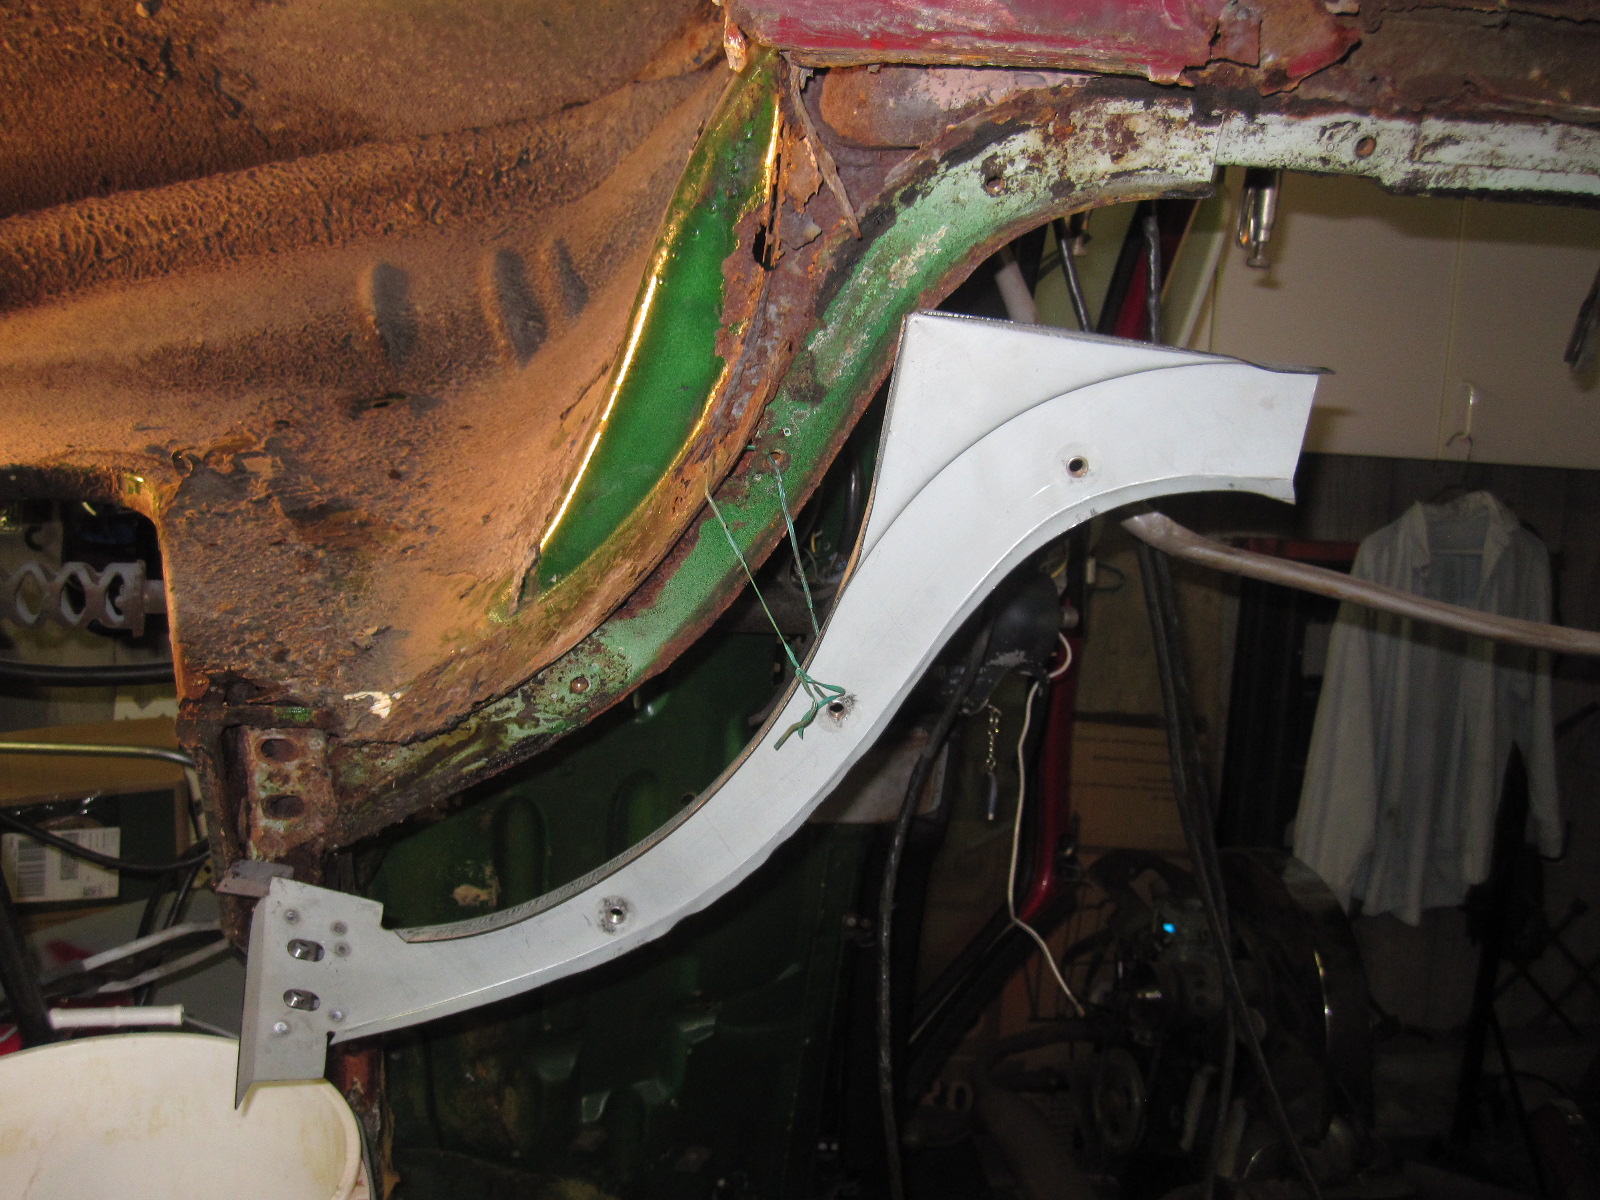
The part of the heater channel that carried the nuts was sound. The major portions of rust ere on the drop leg that connected to the center divider.So my plan is to cut away the rusted portion of the existing heater channel, cut of the replacement piece of the new channel and weld them together.


Existing heater channel cleaned up

Cut line on replacement panel 


 I used the chassis bolts to align the holes in the replacement panel with the existing nut holes on the body.


I punched tack holes in the replacement panel and began skip-tacking it in place with the wire welder.


After the bottom was welded in place, moved to the top side and welded that.


This re-established the bottom line of the rocker panel. I can now move back to the front and finish building out the pieces I'd cut out last weekend. I began with the bottom of the front inner fender.

Then moved on to the corner of the inner fender & "firewall".


Finally the outside of the kick panel & bottom of the inner fender.


Good (better!!) than new

Some paint...

...and were ready to begin prepping for the center divider installation.

Sunday, April 29, 2012

Removing & Replacing the Driver's Side Kick Panel Base

The driver's side kick panel base plate is completely rotted and needs to be replaced


I didn't want to start rebuilding the rocker panels until this piece was replaced. It is the foundation of the inner body/fender structure and the attachment point for the two main front body bolts and driver's floor kick panel bolts to the chassis.


This is the replacement channel I got from M&T. it lines up perfectly with the oem piece.


The outer fender panel is removed....

...to reveal the lower front fender had been removed & reattached in a previous repair. I'm no longer surprised by these little "discoveries" and have come to expect them.

 Little by little, the original piece was removed and the replacement fit in.
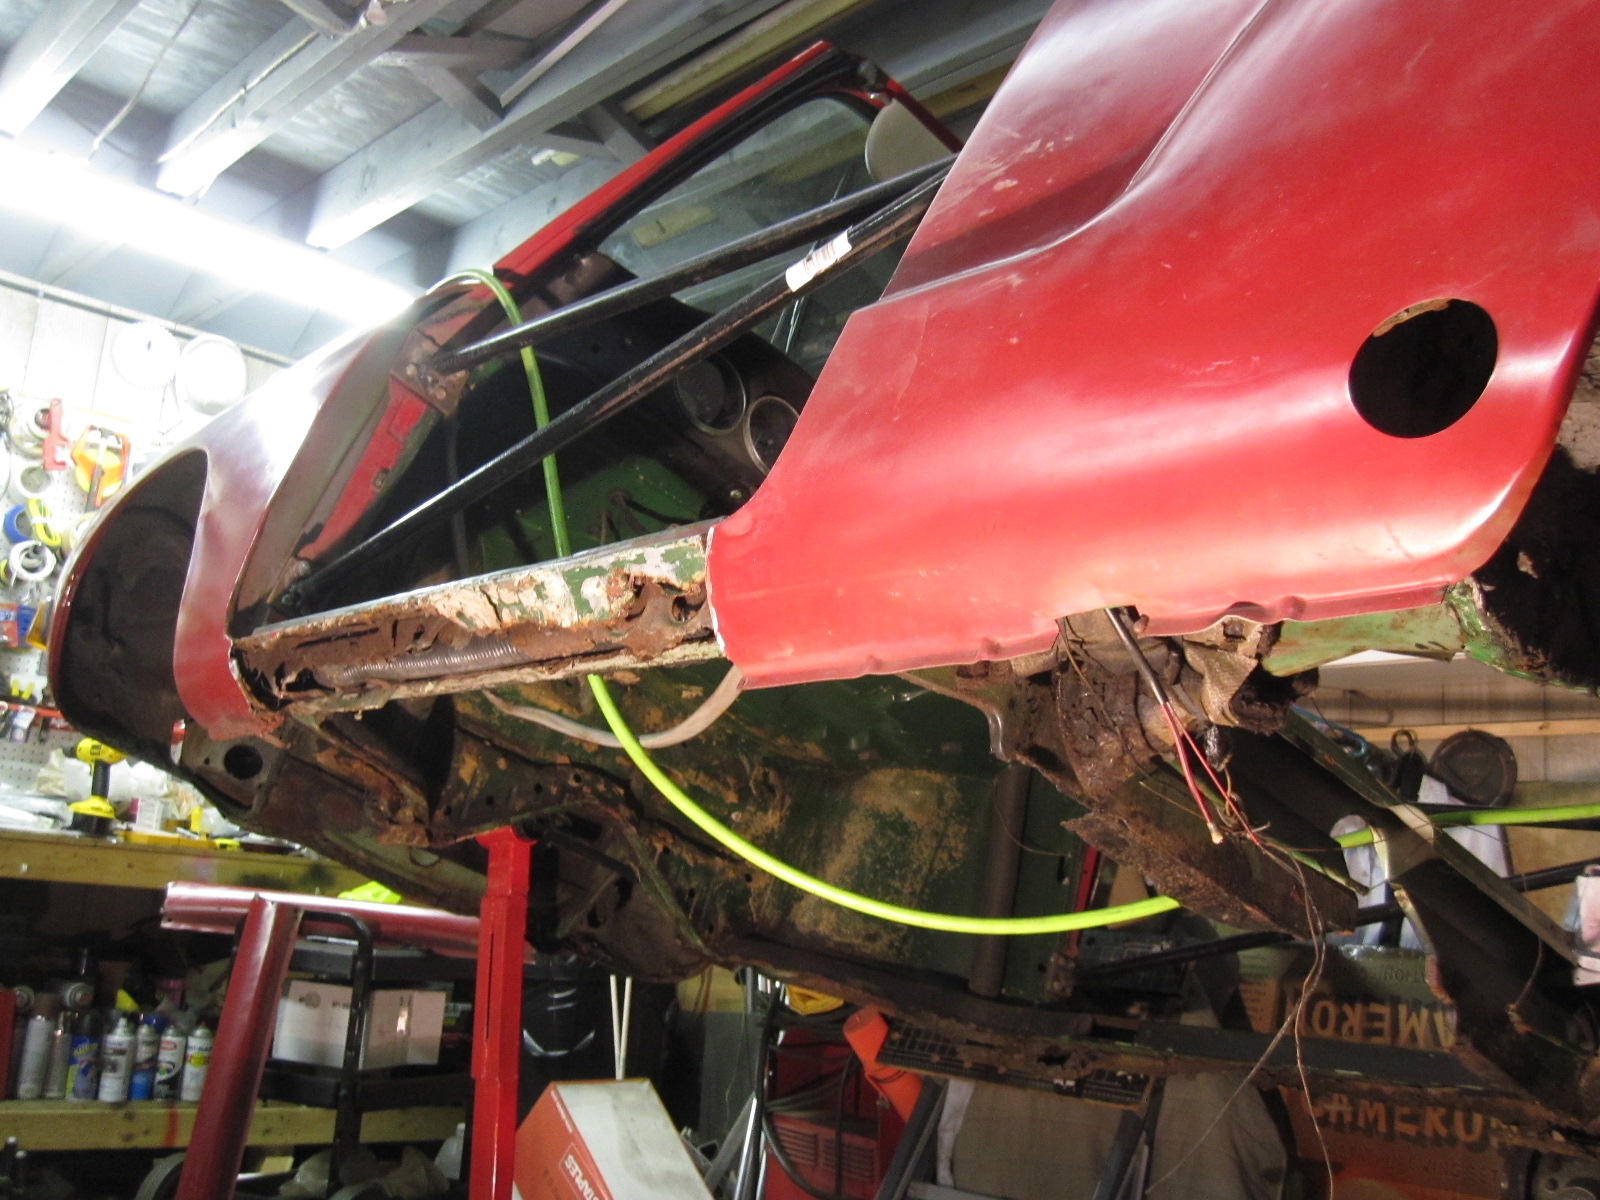

 The bottom of the door support structure will have to be cut out to access the defroster feed elbow that needs to be repaired.  

More cutting away rot.


....and I'm finally back to solid metal I use to can rebuild! The outside of the elbow is fabricated and welded in place.


After cleaning up the welds on the elbow the kick panel base is clamped into position and welded in place


 A quick coat of rust converter is applied to protect it until the next time we'll work on it


Monday, March 5, 2012

Internal Left Rear Fender Fabrication


This is the section that needs to be fabricated...


I traced the missing innerfender to the back of the outer fender skin.

I used this to make a paper pattern of the patch.

I transferred the pattern to a piece of sheet metal.

Cut and formed....

...and checked against the outer fender skin  for fit & shape

The outer & inner panels are lined up & the torsion bar access hole is located...

....and is cut out, then...

taked into place.


Saturday, March 3, 2012

So let's check out the rocker panels....


I becgan by removing the outer rocker panel.

It exposed the extent of the damage to the structural members of the heater channel, center divider & convertible reinforcement bar.
Little left of each.

The left rear panel had been replaced. I ground off the paint and body filler to expose the weld line.


I cut along the weld line and removed the panel.


The inner panel had some rusted area that need to be replaced, as well as a section of the fender that had been cut out ...but not replaced


 Done for the day