Saturday, June 16, 2012

Left Front Fender - Rear Section Replacement

So....today I'll install the replacement panel for the bottom rear of the left front fender


First the panel is test fit...
 ....and trimmed as necessary.

The joints are sanded, spacers installed and the panel is clamped into place for welding.


Continue tack welding the panel in place. 


There is a section that had to be cut out that the new panel will not cover.


A patch piece is cut ...
 
 ...and tacked into place.


The area is gound flush....

 ....and ready for primer


Listen to that little voice in your head when it comes to problems..electrical find


When I cut out the left front section of the driver's side rear fender I (stupidly) did not check the back side of the panel for issues. The main wiring harness passes through this area connecting the engine compartment & rear electrical components to the front of the car.

I cut out the panel with a cutting wheel. The heat generated from the cut melted the shrink tubing/protective covering on the wiring harness. I debated leaving it as is, but it's been eating at me since I did it.

I want the car to be reliable and have had experience chasing electrical gremlins on vehicles (most of it bad!) This, coupled with the age of the car (read multiple owners with varying levels of competence) led me to decide to replace the complete harness with a new one.

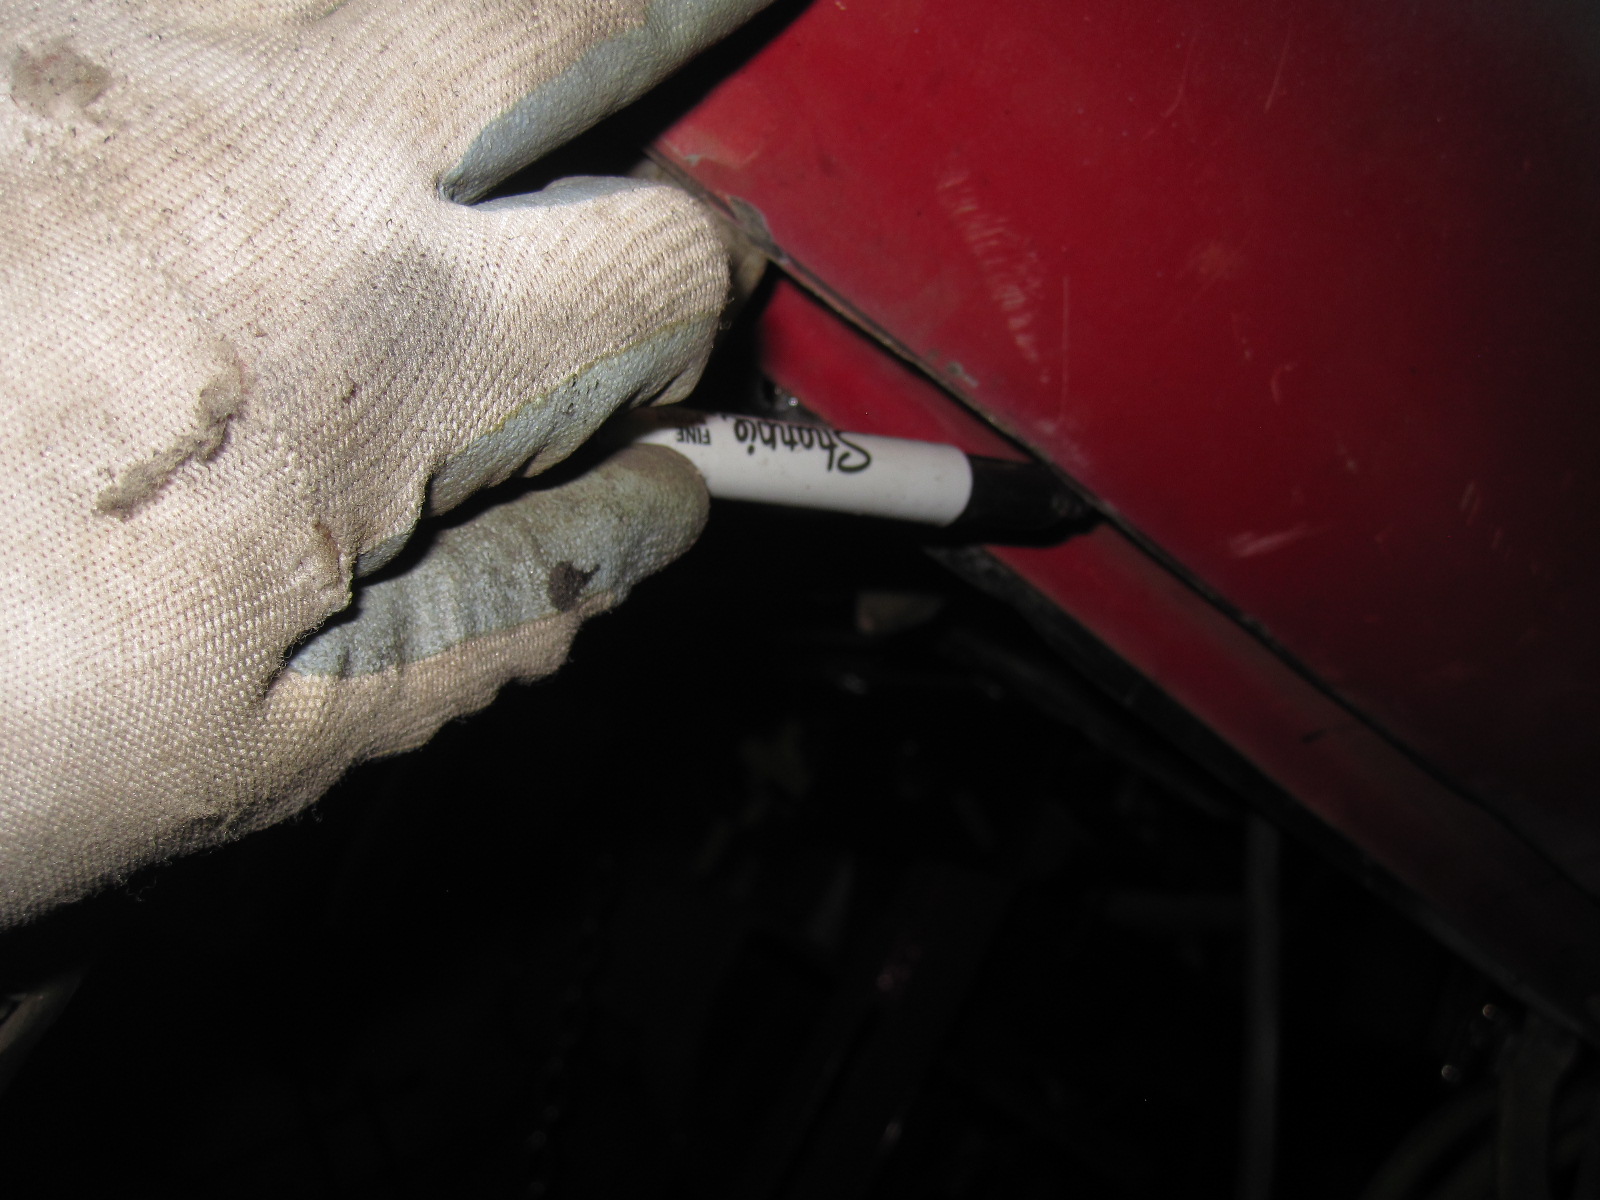
So I bit the bullet & cut out the wiring harness. You can see the melted area of the gray wiring harness bundle cover to the left of the picture below. 


As I peeled back the cover and exposed the bundle I found several wires that had their insulation melted off.


This damage was not caused by my ignorance, but rather over heating of the wire internally. It had happened long enough ago for the copper conductors to turn green with corrosion.


...So I'll change out the complete harness & avoid more aggravation in the future!

Sunday, June 3, 2012

Fender Repair Day 2


This is where we left off yesterday....needed to patch the area to strengthen & reinforce it .

Patch fabricated & installed...

...as well as one in the front.

Painted and ready to install the outer panel.

 The panel is fit in place and clamped for tack welding.

Tack welded in place.

I need to finish tack welding the top seam, but wanted to prime the panel. So i masked the weld area before I primed it.

I'll tack the top seam later this week.

Saturday, June 2, 2012

Fitting & Prepping the Front, Rear Fender Panel - June 2nd


Now that the rocker panel structure under the driver's door had been replaced it's time to begin to restore the panels removed for access to the rocker panel.

The front section of the left rear fender had been previously replaced. It was not fit in well and will need to be adjusted.


The panel is laid in...
 ...it is obvious that the panel will not match the rocker panel...short by about 3/8"!

I'm also not planning on re-installing the jack points, so I don't need the cut outs.

I have the "old"outer rocker panels that I'd removed and replaced with new panels. They're relatively straight and in good condition. I'll use the bottom edge to extend the fender panel the 3/8" I need.


I also trimmed the bottom of the fender panel to accept the new piece.


I position the two pieces to mark them to size.

The new bottom lip tin is marked to be rough cut.

 ...and the fender panel is maked for fit.

The fender panel trimmed and checked for fit.

The bottom lip is clamped in place and marked to be cut to the finished size needed...
 ...then cut to fit.
 
Next step is fitting the two pieces together. I begin by grinding off all of the pain from the surfaces that will be welded together.


 Next, I clamp the pieces up to begin tack welding

 From experience, the panels will be more flat after welding if you leave a slight gap between them when tack welding. Harbor Freight sell some spacing clamps that are inexpensive and work well.

Once the gap has been established with some tack welds, the spacers are removed. This allows me to get some copper backing plates on the backside of the panel. The plates I'm using are approx. 3/16" thick & 2" wide. They act as heat sinks when welding and the weld doesn't stick to the copper. The clamps and copper plates make tacking the panels together easier! 

The initial pass of tack welding is ground down ...

...and any voids in the weld are identified & filled on the second pass.

After a complete outside surface sanding the panel is tried for fit.

 Before I weld the panel in place there are a couple of areas I want to reinforce with patches. The first area is where the back end of the rocker panel meets the inner fender in the front of the wheel well.